
Host Asp.NET WebAPI to IIS
I recently started to learn ASP.NET Core WebAPI, the very basic skill is to have it run locally, so your other apps/apis will be able to use it. Like I said, it’s basic and take 5 mins to complete.
Publish ASP.NET Core WebAPI
- Please clear your solution and rebuild it, make sure there is no error.
-
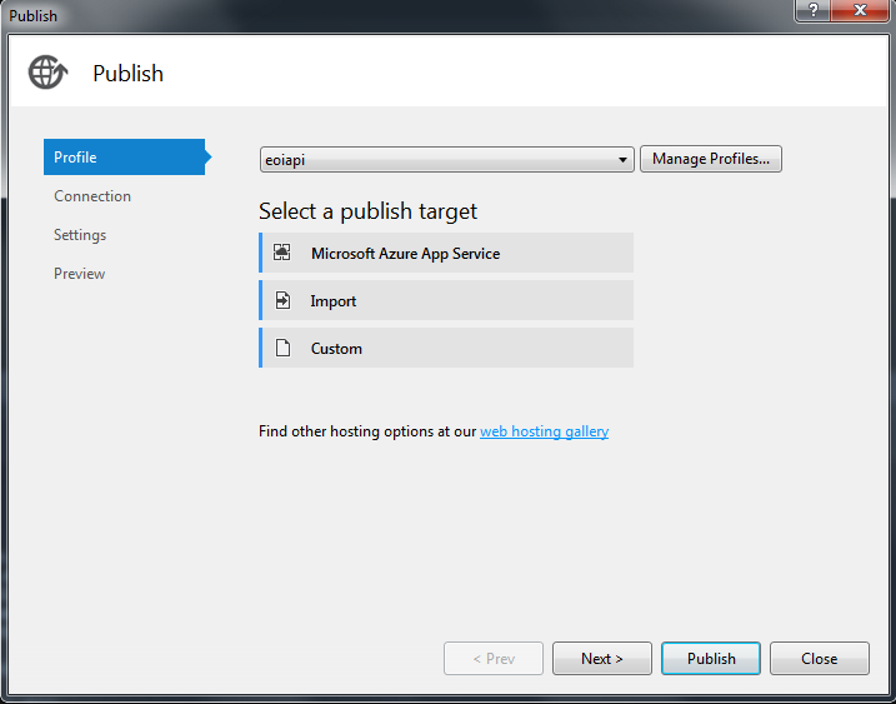
Right click your ASP.NET WebAPI project and select “publish…”
It will open a publish window, you need to create a new profile if this is the first time publish. Select Custom…
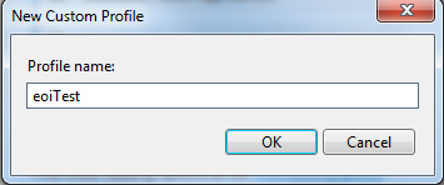
Enter a new profile name
-
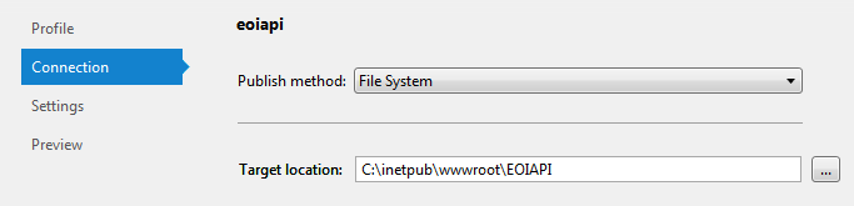
Select Publish method: File System, and the Target location (where your published file will be stored)
-
Configure your the settings
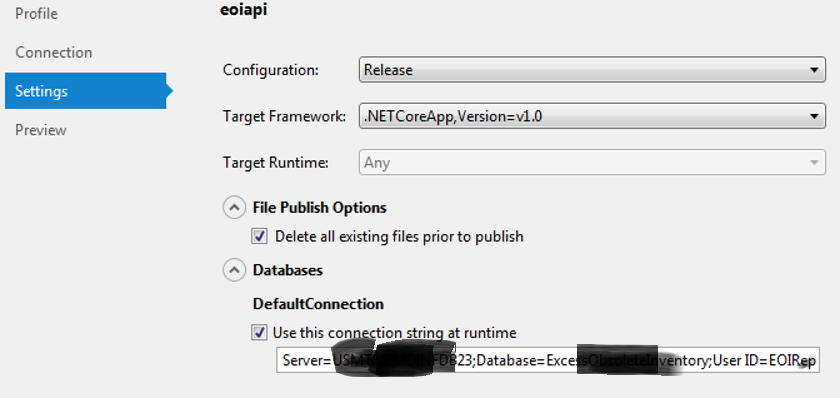
- Click “Publish”, then the web api will be published to the specifid location
Host ASP.NET WebAPI in IIS
-
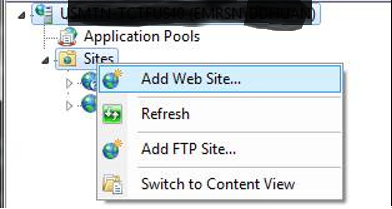
Open your IIS manager, add Web Site
-
Configure your website
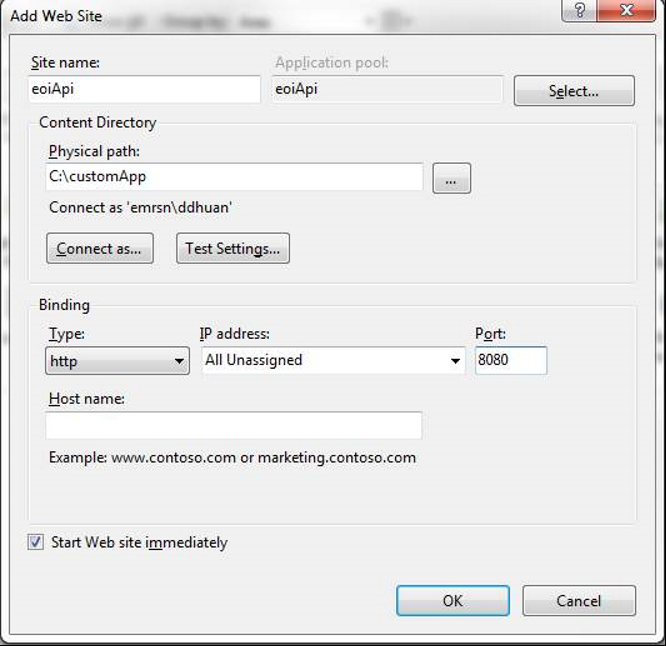
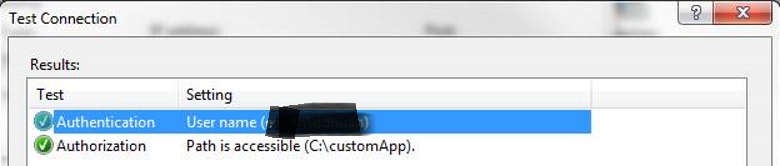
ensure you have permissions to access the location
-
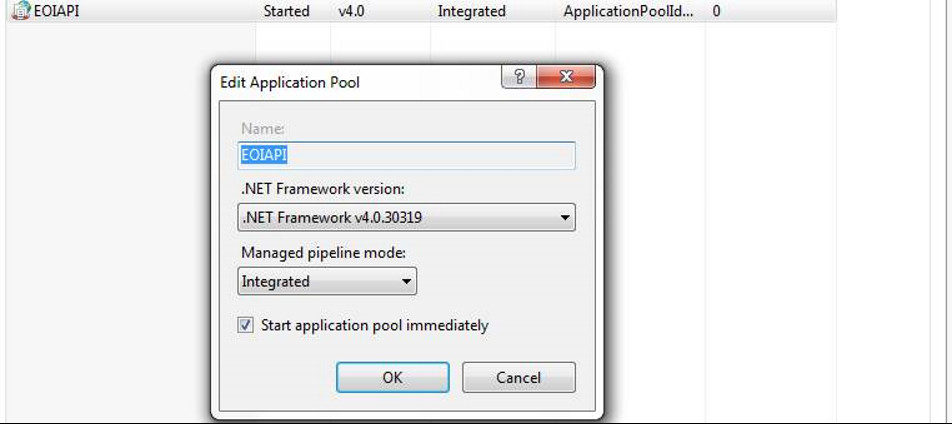
Configure your application pool for your new web site
-
You’re all set, try to access it.
Enable Windows Authentication
Note: Make sure you disabled the anonymous Authentication when you want to use Windows Authentication